Vintage card and ATC

Early planning

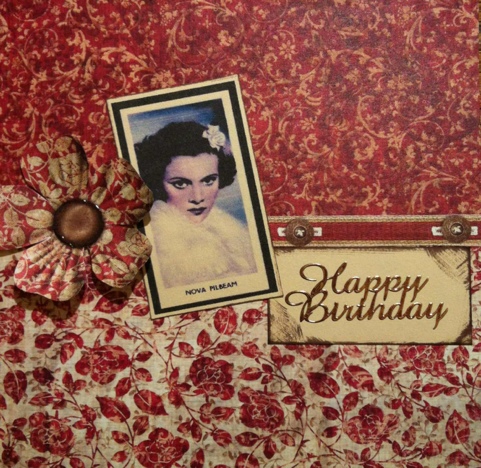
I am writing this post so far in advance that I’m almost bound to forget that I’ve done it. I am unable to publish this post any earlier as the card I’m showing you is for my very good friend Stacey, whose birthday is today (happy birthday Stacey!!). I do hope she likes it.

20120221-131732.jpg

The papers I used for this card (and the idea too, actually) was from issue 91 of Simply Cards & Papercraft magazine. The magazine suggests using old cigarette cards for crafting. Now, I had a look on eBay, but the only nice ones cost a fortune, so I decided to print my own. Unfortunately my printer ink was running low, hence the unusual skin colour, but that aside, I thought it still looked nice and ‘vintage’.

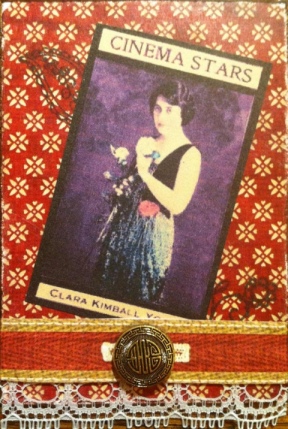
I loved the vintage look of the card so much that I ended up making an ATC along the same lines too, using a strip of vintage lace and an old button to set it all off.

20120221-131737.jpg

Various cards

Birthday girl

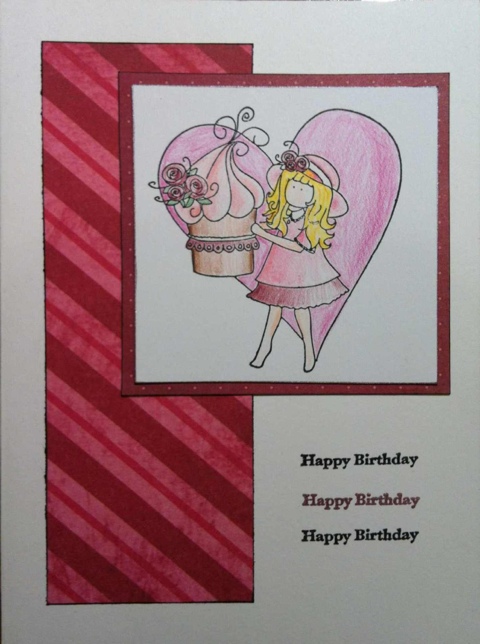
Here’s a few random cards I’ve been making recently. This first one was made using some free stamps I got with my Simply Cards and Papercraft magazine, which are really lovely. I coloured the image in with pencils, mounted it onto spotty paper, put a strip of striped paper down the side of the card, and stamped ‘Happy Birthday’ three times in the corner, using a different colour ink for the middle one.

20120221-131847.jpg

Blue Flower

Again, the backing papers for this card came free with a magazine, although I can’t remember which one. I used my flower punch on two colours of patterned paper to make the little flowers, then found a bigger blue flower from my extensive stash to match. Tiny blue brads hold the flowers together, and I mounted them to the card using double sided tape.

20120221-131903.jpg

Sparkle

I love this card, the colours are so fab! The gorgeous sparkly flower I received as part of a swap from Swap-Bot. There was a whole packet full of them, and I spent many happy minutes sorting through them and choosing which ones to mount together. Once I’d chosen the red & orange theme, I knew exactly which ribbon to use with the flower – also received from a (different) swap! The ribbon is unlike any I have seen before – it has almost a gauze-like outer layer, surrounding red and orange fibres inside it. So beautiful! And so quick to make! The most time-consuming part of the process was working out how to attach the see-through ribbon to the card without the edges fraying, or the adhesive being either visible or ‘feelable’ through the fabric. I ended up using super-strong double sided tape at the top and bottom of the card, but folded the ribbon over itself before attaching it, so there is about 10mm of double thickness ribbon at the top and bottom to hide both the tape and the stickiness. You can just about see it if you look closely.

20120221-131908.jpg

February ATCs

Heart ATC

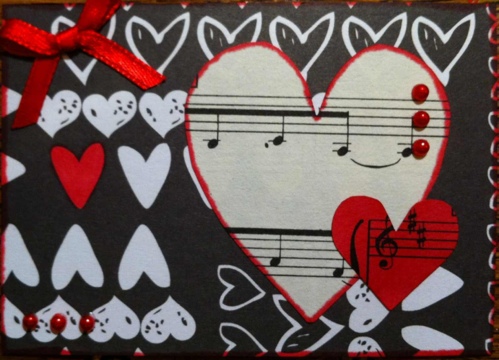
During my no-spend challenge in January,  I didn’t join a single Swap-Bot swap. Come February and I was getting withdrawal symptoms, so I decided to join a UK only ATC swap, to keep the cost down. The theme of the swap was ‘Hearts’. I think I may have gone a little overboard with the theme as I can count over 25 hearts visible on this tiny ATC!

I used some old sheet music and cut out a couple of heart shapes, colouring one in with a red ProMarker. I also coloured in one heart on some black and white heart backing paper (I do love the black white & red colour scheme!). Some red adhesive pearls and a ribbon bow completed the look.

20120221-131814.jpg

Eye Test ATC

As I mentioned in my Back in the Craft Room post in January,  my mother-in-law gave me some awesome sight test and spectacle themed stamps for Christmas. So far I haven’t used them nearly enough! So I thought I’d have a go at making an ATC. I stamped the spec frame onto vellum and cut it out, so the vellum looks like lenses. I used a blue marker pen to add some eyes behind the lenses (there was a bit of a disaster when the glue I used to fix the specs onto the ATC smeared the eyeball all over the back of the lens, but I just about managed to resurrect it, although you can still see the smudge :-/ ). I stamped an eye test chart onto white card, then mounted it onto blue paper, then onto the backing card. I edged the whole ATC with a blue marker pen to match, then wrote ‘Lens number one, or lens number two?’ all around the edge of the ATC to create a border. I’m really pleased with how it’s come out!

20120221-131818.jpg

Bird Cards

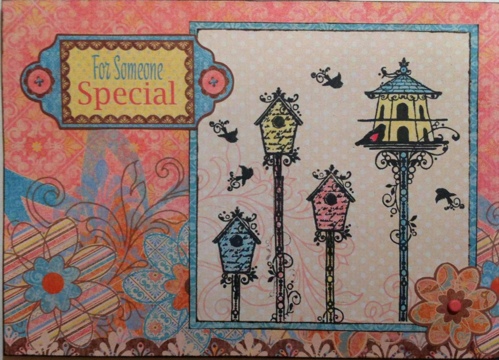
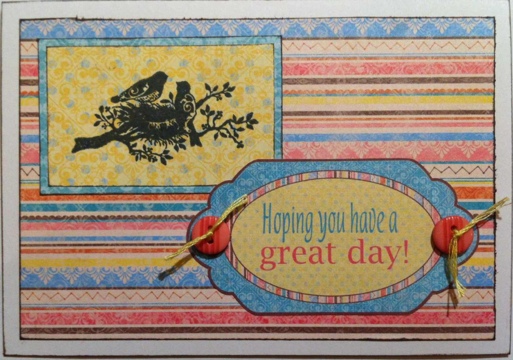
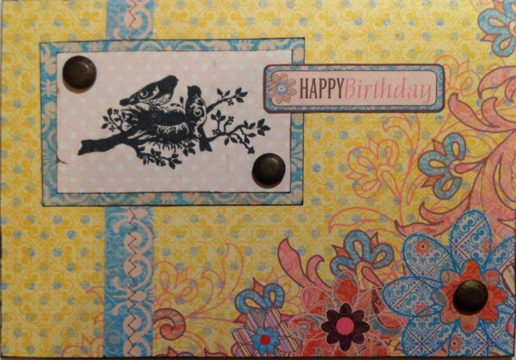
Late last year, under the guise of a Christmas present to myself, I subscribed to Simply Cards & Papercraft magazine. Each month I get a magazine full of ideas, plus some freebies. This month the freebies included a set of clear stamps and some rather gorgeous backing papers that I just had to have a play with. My inspiration has been sadly lacking lately, so a couple of these cards are pretty much copies of ideas in the magazine, but I still have heaps of the backing papers left, so hopefully once my inspiration returns I’ll be able to make some more to my own design.

20120221-131643.jpg

20120221-131647.jpg

20120221-131651.jpg

I’ve added my own little twists to each card with the addition of Card Candi, buttons and brads. I really enjoyed making them, despite having to have *every* piece of backing paper spread over every available surface in order to be able to choose which to use!

Love

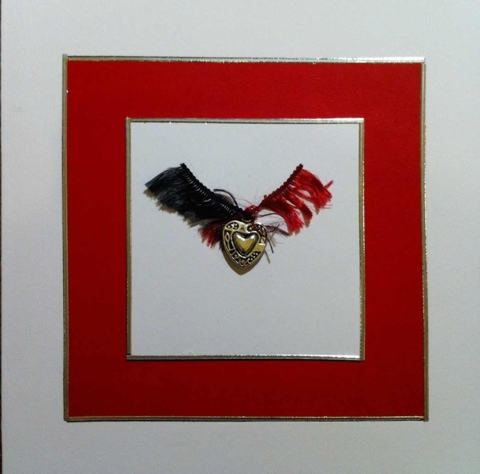
I’ve missed the boat a bit for Valentine’s it would seem. Whoops. Regardless, here’s a couple of cards I made on a ‘love’ theme. Valentine’s or not, they could just as easily be used as an anniversary card – which is exactly what I did with the second card.

Heart

20120221-131557.jpg

I found this sweet little heart charm in amongst some bits and pieces I was sent in a swap. Tying the fibre through the tiny hole was tricky, but I love the colours of it. I’m not totally happy with this card as I think the proportions seem wrong, but I reckon I could add some silver writing or peel-offs around the red border to make it look more balanced.

Happy Anniversary

20120221-131552.jpg

I bought this heart print for the princely sum of about 20p, and used my ProMarkers to colour it in. A matching red mount and some ribbon tied around the card and Robert’s your father’s brother as they say. I’m going to have to buy some more of those prints, they’re so pretty!

Back in the craft room

At last!

Ive finally managed to get back into the craft room today, for the first time since before Christmas. And I do mean literally – my craft room floor has been piled high with all sorts since the week before Christmas when my parents visited, and I just shoved it all in to get it out of the way. I’ve not been able to set more than one foot in there for weeks.

So today was the day. My husband went out for a bike ride and my son helped me transfer all the mess from the craft room to the lounge, to allow more space for sorting (he was bribed in this endeavour with sweets). About half way through I left the room, and when I returned it struck me – what a disaster zone!

20120108-215001.jpg

It was at this point that I started to frantically try and return things to their rightful homes before my husband got home and wanted to actually sit down! How I managed to fit all that stuff into a room the size of a postage stamp I’ll never know.

Anyway, this evening I managed to actually *do* some craft. Three birthday cards in fact (only one of which has a recipient planned, the others are for ‘stock’).

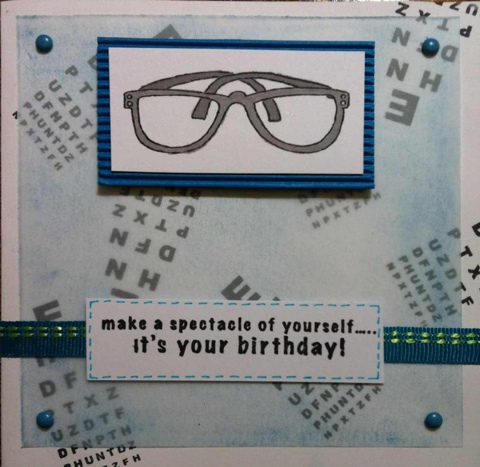
I’ll share just one with you tonight, the one for my father-in-law, whose birthday is at the end of the month. My mother-in-law gave me these awesome stamps for my birthday, and I think they’re going to get lots of use!

20120108-215007.jpg

January No Spend Challenge!

A couple of weeks ago I was invited to join in a challenge originally set by Stephanie at her Full Of Great Ideas blog. I was invited by Mother Hen Strikes Again, who I follow on twitter. Ever since reading up about the challenge I have been thinking it over and wondering if I could possibly stick to it. The rules are quite simple: no frivolous spending. Essential items only. That means no crafting items, no sweets or treats, no books, clothes or CDs.

I can tell you now that I need to do this challenge as my bank account is in a very sorry state after Christmas, but I am a devil for snapping up a ‘bargain’ (read ‘buying unnecessary crap’). The thing is, now it’s New Years Eve and I’ve not made any half decent resolutions, and this challenge has been playing on my mind. So I’m going to take the plunge. January will be a month of essential spending only. I’m afraid I’m going to totally plagiarise Mother Hen’s blog here and copy her rules, which I will endeavour to stick to.

Mother Hen’s 7 golden rules are:-

1. Thou shall not spend ANY money on Crafts

2. Thou shall not spend ANY money on DVDs, CDs, Books or Clothes

3. Thou shall not spend any money on Sweets or Treats (make whatever you got for Christmas last until February young lady!)

4. Thou shall only buy essential groceries and make savings wherever possible!

5. Thou shall only complete crafts with the items already in the house

6. Thou shall not go to ‘Coffee’ or ‘Lunch’ with other Mummies unless invited to their home or them to mine

7. Thou shall think “thifty”

I confess, I have just placed an order for 3 books which are not essentials, but my justification is that a./ it’s not January yet, and b./ I received a gift voucher for Christmas which covered 80% of the cost and it would have been very rude not to spend it 😉

Oh yes, and I may have bought myself a dress yesterday too. But again, that was with Christmas money. Ok, you can see I’m already justifying things! All I can say is that I will do my best to adhere to the rules. Hopefully by the end of the month I will have saved enough money to get my car through its MOT in February. That’s the goal anyway!

So any January blog posts will contain craft created from what I already have in stock (although in all honesty I probably have almost as much craft stuff crammed into my house as my local craft shop so I don’t think that part will be tricky!).

I will try and keep you informed of my success (positive thinking there, see?!). Thanks Mother Hen for inviting me 😉
Advent Challenge: Day 24 – Flowers and ribbons

Day 24: Flowers and Ribbons

20111206-135150.jpg

20111206-135155.jpg

20111206-135202.jpg

20111206-135207.jpg

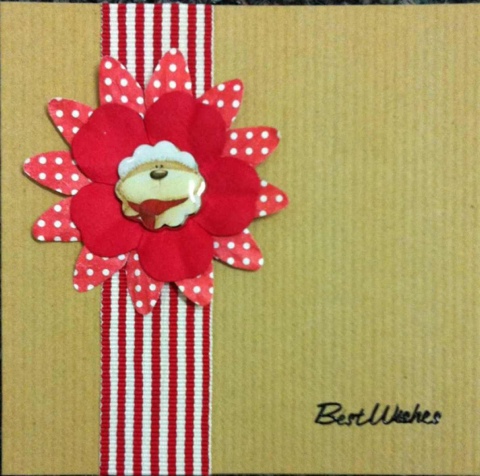
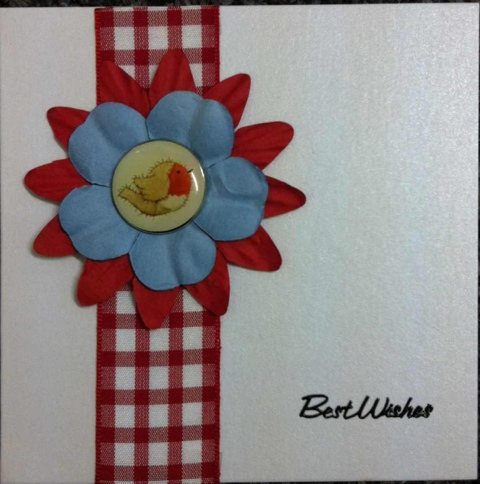
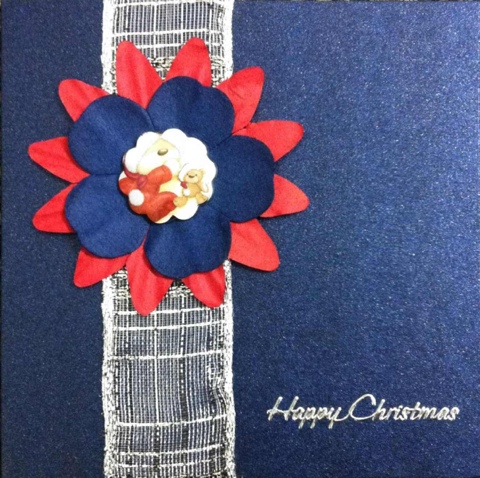
I’ve saved my favourites until last. They contain my four favourite card-making materials: ribbon, brads, paper flowers and peel-offs – perfect! The *only* thing I don’t like about them is that they’re too thick to post as a standard card, and need a large letter stamp. But, you can’t have everything, and I think these cards are so pretty that I have actually gone against my natural instincts and posted a few of them!

I had such a lot of fun making these. I’ve made 13 in total, all slightly different. The flowers and epoxy brads in the centres are from the same range, and I bought them at the NEC craft fair back in November. The various ribbons have been either puchased or received in swaps. I started by making the flowers and choosing a suitable brad to go in the centre of each. When I had a pile of those, I had to decide which ribbon would go best with which flower. Then finally I could choose the card blank. It took a while to get to the ‘construction’ stage of cardmaking, but once I did, the cards came together really quickly.

How to make these cards:

  • Choose two or three different sized paper flowers in complementary colours. Use a matching Christmassy epoxy brad to attach the flowers together.
  • Choose a suitable colour small square card blank and ribbon of about 1 inch width. Wrap the ribbon vertically around the card about a third of the way from the crease. Secure with double sided tape.
  • Attach the flower about two thirds of the way up the ribbon. Either use double sided tape, or make a small hole and push the brad through the card to secure it.
  • Place a greeting peel-off in the bottom right corner of the card.

I like to use double sided tape to attach ribbon, but it does depend on the type of ribbon you have chosen as to how you do this. The silver ribbon in the blue and pink cards above is thin and the stickiness of the tape comes through it. I used a double layer of ribbon by folding it under itself before using the tape, and this seemed to work well. I did also pop a bit of tape under the ribbon where the flower is attached, to give a bit of extra security.

So that concludes my Advent Christmas Card Challenge! Thanks for reading, I hope you’ve enjoyed it, and I also hope that it’s inspired you to get making some cards yourself. I’d love to see your efforts, so please do post a link to your blog in the comments below so I can see what you’ve been up to!

Merry Christmas!

Advent Challenge: Day 23 – Gatefold Poinsettias

Day 23: Gatefold Poinsettias

20111127-193132.jpg

In the blog post I wrote about the craft fair at the NEC that I went to, I mentioned a lovely paper flower punch and embosser kit that I bought there. You create the flower shape with the punch, then put the flower into the embosser, squish it down, and when you take it out it’s shaped and embossed beautifully. This card was made using that little kit. I’m particularly pleased with the flower centres – once again, I’m glad I never throw away my leftover bits of cross-stitch thread!

To make this card:

  • Punch 6 light red and 6 dark red flowers, and emboss each one.
  • Thread a needle with 6 strands of yellow cross-stitch thread. Tie all the strands into a knot about 1/2 cm from the end. Don’t worry if they’re not all the same length as you can trim them.
  • Use the needle to punch a hole through the centre of a light red flower first, then a dark red one. Pull the thread so that the knot lies at the front of the flower.
  • Cut the threads at about 1/2 cm  behind the flower and use a small strip of double sided tape to secure it.
  • Repeat this for each flower.
  • Once you have 6 flowers, attach them to the front of a small gatefold card using the double sided tape that is also securing the thread. Mount three in the bottom left corner, and three in the top right.
  • Cut two squares of pearlescent card, a dark red one to fit within the gap between the flowers, and a light red one just slightly smaller. Attach together with double sided tape.
  • Again with double sided tape, attach the red square to the left ‘gate’ of the card so that it is central and overlaps the right ‘gate’.
  • Finally, place a gold greeting peel-off in the centre of the red square to finish.

This sounds quite a complicated card to make, but as long as you have the punch & embosser it’s actually very straightforward. It’s also a great one to do whilst watching telly or – *gasp* – conversing with your husband ( 😉 ) as punching and embossing the flowers takes minimal attention, and you can easily get carried away and make loads.

Advent Challenge: Day 22 – Cute Papers

Day 22: Cute papers

20111127-193418.jpg

20111127-193422.jpg

20111127-193426.jpg

20111127-193429.jpg

20111127-193433.jpg


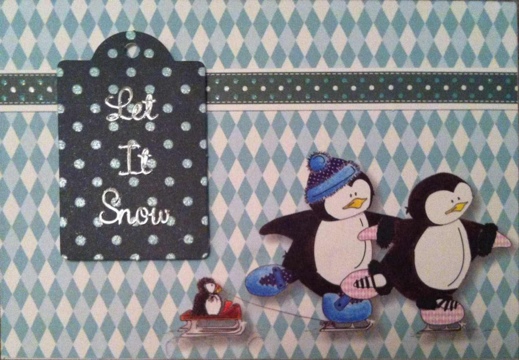
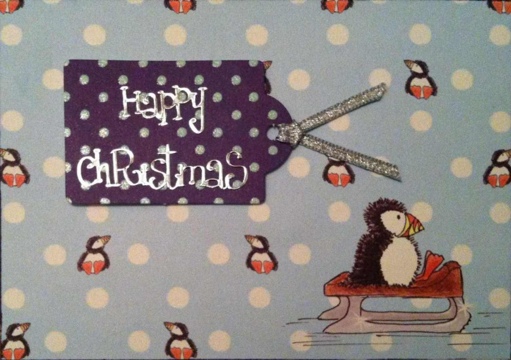
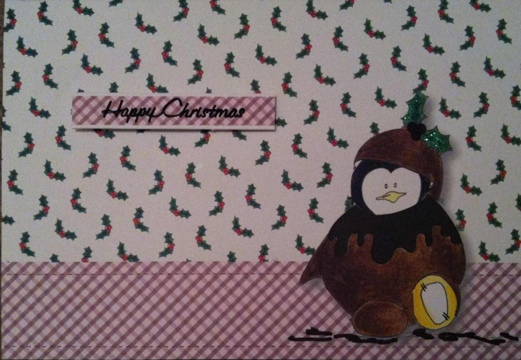
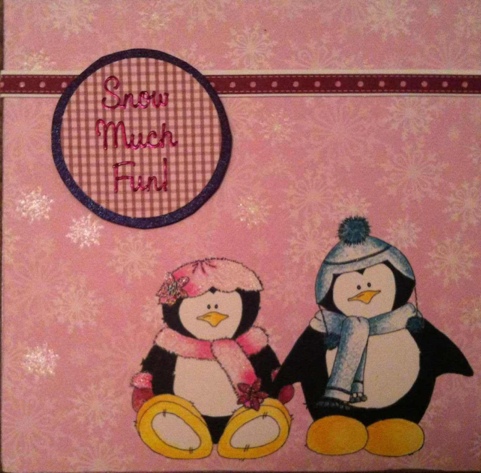
I just love these cards! I bought a pack of A5 papers which contained some lovely backings, but also 5 gorgeous character papers, plus some matching die cut tags and shapes. Three of the character papers are glittery too. They made very easy cards, and are ideal for sending to kids too.

Because everything came from one packet (plus the odd obligatory peel-off of course!) it was easy to pick and choose matching paper ribbons and tags to go with each character. I’ve got heaps of plain backing papers left to play with now too, so this little pack was a very good buy. If you’re just starting out in crafting, and haven’t built up much of a stockpile of papers and embellishments, buying packs with matching bits in is a great way to go. Easy inspiration, and usually much cheaper than buying lots of different items.